Ingredients
- 15 mL vanilla extract (or 1 vanilla bean or 1 tbsp vanilla bean paste)
- 5 egg yolks
- 100 g sugar
- Pinch of salt
- 30 mL bourbon (optional)
- 480 mL of whipping cream (35% fat content)
- Extra sugar to caramelize
Instructions
- Place the egg yolks in a large bowl or jug. Add the sugar, vanilla extract, pinch of salt and bourbon (if using) and whisk together to form a pale paste.
- Add the cream and whisk to combine. Stir until the sugar has dissolved competely.
- OPTIONAL - Place the custard mixture in a saucepan, and heat over medium heat while whisking constantly, until the mixture is warm and starts to steam. The sugar should completely dissolve as well. (SEE RECIPE NOTES).
- The custard mixture may have some bubbles on the surface. Cover and let it rest to allow the bubbles to subside. You can also stir gently to remove some of the bubbles too.
- Divide the custard into 6 half pint jars / 8 oz jars and close them with the lids. Then loosen the lids slightly to make sure the jars aren't closed too tightly and there is no excess pressure build up (please read the post, where I explain how to do this). It will not fill the jars.
- Fill your sous vide container with hot water from the tap. Attach your sous vide circulator and set the temperature to 179°F - 181 °F / 82°C - 83°C. Start the sous vide.
- Gently lower the jars into the water. This allow the jars to come up to the set temperature, along with the water. Plus there is not thermal shock for the glass jars as well. There will be just a few air bubbles that escape from the jar.
- When the circulator reaches the set temperature, start timing the cook time for 1 hour.
- After 1 hour, remove the jars from the water container, and tighten the lids using a cloth napkin (so you can grip the jar and lid that will be very hot at this stage).
- Let the custards cool completely to room temperature.
- Transfer the jars into the fridge and let them chill over night.
- You may have to gently pry the lids off the jars with a spoon to break the seal, when you're ready to serve them.
Full Article
This sous vide creme brulee is a foolproof recipe that will guarantee perfect results, every time! Exceptionally creamy and delicious creme brulee, made in a sous vide!
If you like classic creme caramel or classic creme brulee, then you will LOVE the perfectly creamy custard results that you’ll get with this sous vide technique!
Sous vide caramel brulee on a gray surface with a blue and white striped cloth next to it.
MY LATEST VIDEOS
Why this recipe works

heart symbol
- Perfect custard consistency every single time.
- You can make it in bulk (provided you have a large enough container).
- Never suffer cracked glass jars again.
- Never overcook or scramble the custard.
- It can keep for up to 2 weeks in the fridge.
- You can even make this WITHOUT canning jars.
First let’s quickly look at what sous vide cooking is.

Overhead view of a jar filled with crème brûlée and a caramelized sugar layer top, and a blue and white striped cloth nearby.

Question mark glossary icon with background
What is sous vide?
Sous vide is the process of cooking food in a vacuum packed bag or vacuum sealed jar, submerged in a temperature regulated water bath. It’s a great way to cook meat especially, like this sous vide turkey breast and sous vide rump roast.
The term “sous vide” means “under vacuum”. However, you do not have to vacuum seal your cooking bags. A leak-proof bag can also work well.
Why sous vide works for this recipe
No overcooking or curdling
If you read my post for classic creme brulee, or pumpkin pie, or custard desserts, I have mentioned that egg custards have a tendency to curdle if overcooked. This can happen if it’s cooked for too long, or if cooked at too high of a temperature (over 185°F / 85°C).
With sous vide, this isn’t an issue! You can set the temperature of the water bath to about 179°F, and the creme brulee that is cooked in this water bath will never exceed this temperature.
The result is an absolutely perfect, creamy creme brulee, every time. This is easily one of my favorite sous vide desserts to make.
Creamy creme brulee underneath the broken golden brown caramel layer on top.
Extended shelf life
When you make creme brulee in the oven, it only lasts for at most 5 days in the fridge.
However, if you make creme brulee with 8 oz canning jars in the sous vide, it creates a vacuum seal, allowing you to store these in the fridge for up to 2 weeks. So sous vide creme brulee is an EXCELLENT way to make this dessert ahead of time.
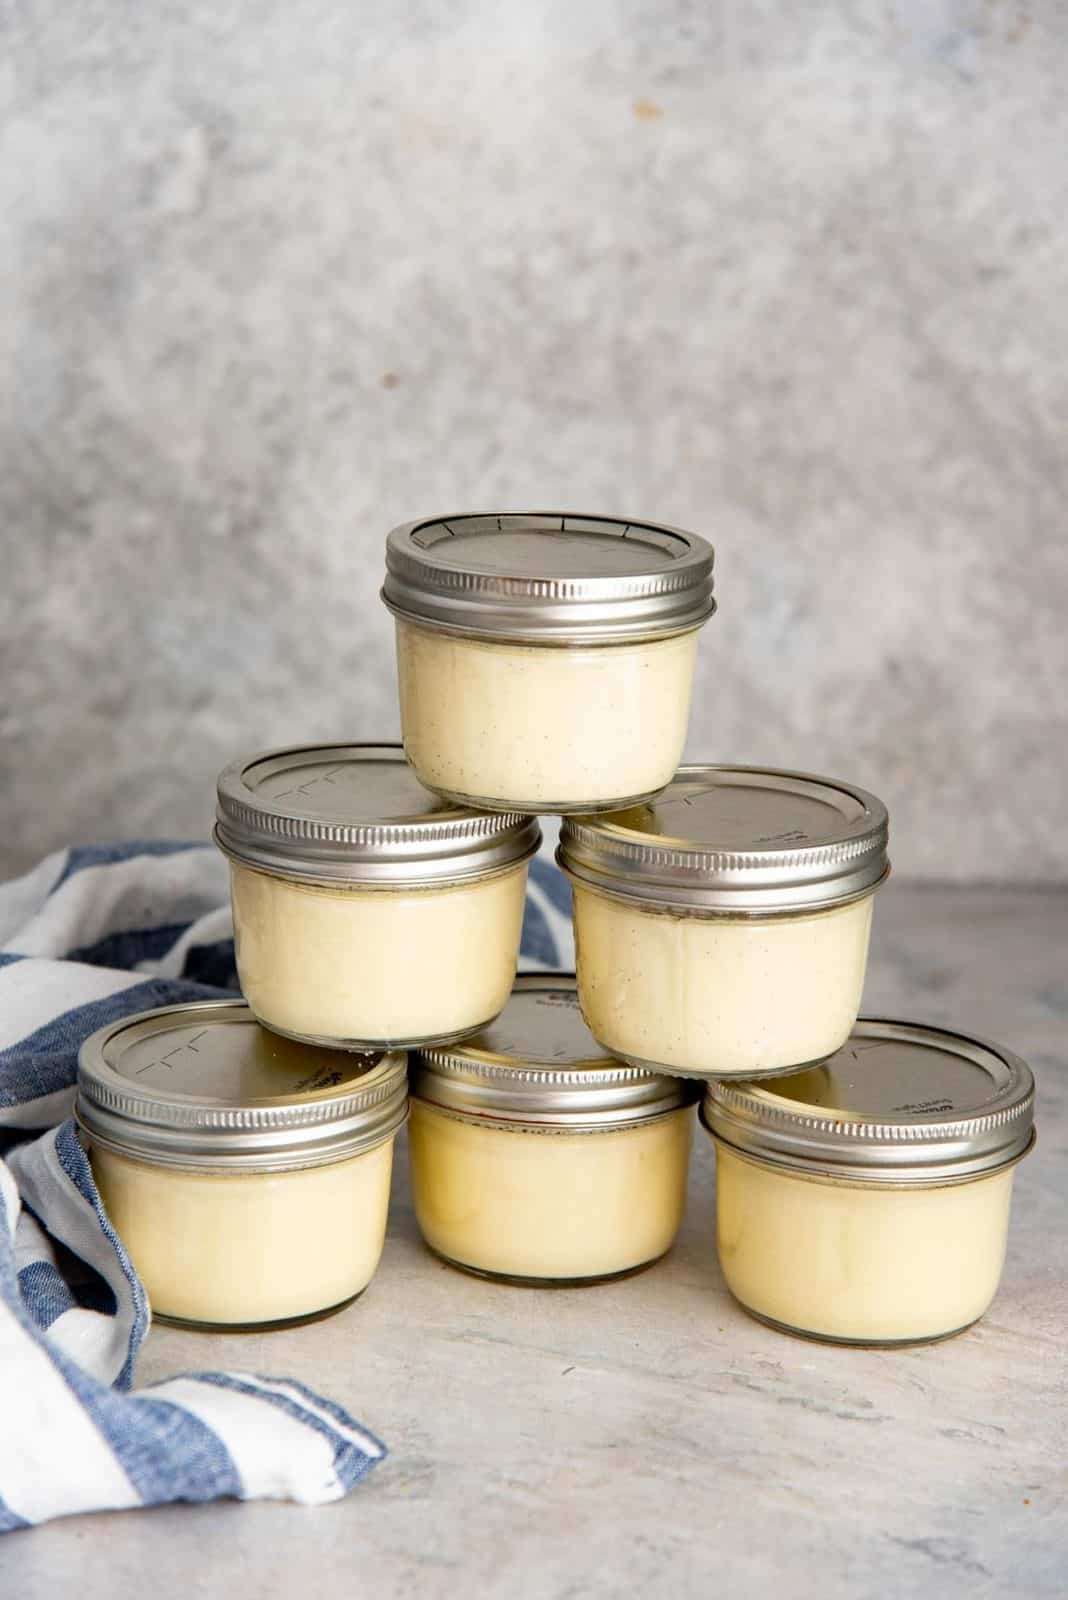
Cooked and chilled sous vide creme brulee mason jars stacked on top of each other.
How to prevent jars from cracking in the sous vide
Have you encountered the problem of cracked jars when placed in the sous vide container? There are usually two reasons why this happens.
- Thermal shock – If the glass jar (and contents inside) are cold, and the water is hot when you submerge the jars, the resulting extreme temperature gradient can cause a thermal shock and crack the jars.
- Too much pressure – It’s important to make sure the jars are not closed tightly, so that some of the excess air in the jars is allowed to escape as they are submerged into the water.
Preventing thermal shock
To prevent thermal shock, you can either heat the creme brulee mix so that it warms up the glass jars before you place them in hot water, OR
Place the jars in the water BEFORE it heats up to the right temperature. This will allow the jars to warm up gradually along with the water in the container. Once the set temperature is reached, start timing the cook time.
Since the creme brulee custard base doesn’t really require to be heated to get perfect results, you can choose either of these two methods to cook your creme brulee.
Making sure the creme brulee jars aren’t too tightly closed
A lot of recipes state that the jars need to be “fingertip tight”, meaning that you can easily open the jar with two fingers (or two fingertips). This I find is pretty subjective, just going by what finger tight means to me vs my husband.
So here’s how I make sure the jars aren’t closed too tightly.
First I close the jars with the lids (not too tightly). Then I imagine a clock on the jar lid, and place my index finger on the 12 o’ clock position, and then unscrew the lid (in the counter clockwise direction) until my index finger reaches the 11 o’ clock position. Done!
Loosening the lid 1/12th of the way in this manner will help avoid pressure build up when you submerge the jars in the water.
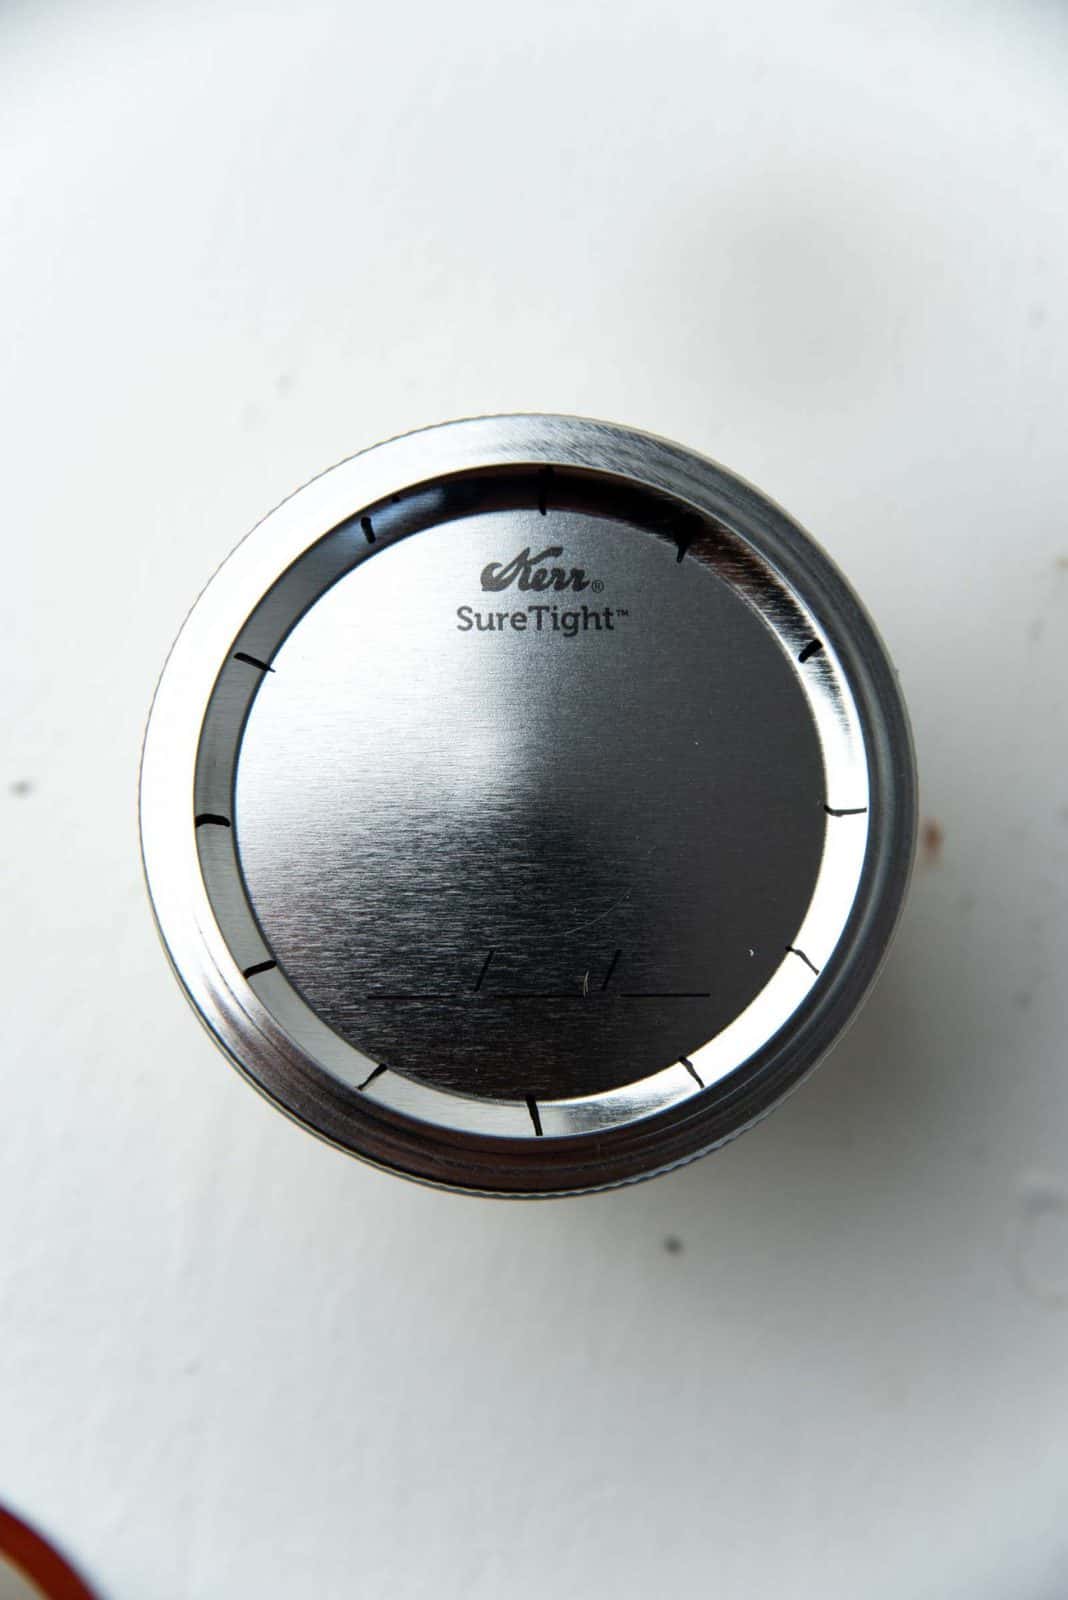
Imaginary clock on the lid
Equipment I use to make sous vide creme brulee
- Anova sous vide circulator – I used to have the classic Anova circulator which was excellent. Then I upgraded to the Anova pro version, because I use it quite often. However, the classic Anova is perfectly sufficient for regular use at home. There are other brands out there too, like joule that works great.
- Plastic container – I have three sizes for different uses. However, this 12 qt Rubbermaid container is a good overall size to start with.
- 8 fl oz canning jars (mason jars) – I use the wide mouth Kerr glass canning jars. These are shorter in height and perfect for sous vide desserts. Another recommendation would be the Ball wide mouth canning jars that are also shorter in size and wider than the Kerr version. You could also use the 4 fl oz canning jars, but the portions will obviously be smaller.
- Blow torch – I use a blow torch to caramelize the sugar on top. However, you can also caramelize the sugar separately and swirl it on top instead as explained below.
How to make creme brulee in a sous vide
The process of making the creme brulee custard here is identical to the classic method that you can find in my classic crème brulee recipe post.
You don’t need to heat the cream unless you want to infuse the cream with flavors, OR if you want to have a warm creme brulee base. It’s not necessary for the success of the custard texture.
Whisk the egg yolks and sugar together to form a thick paste. Add the cream (or temper the eggs if using heated cream), and whisk to combine.
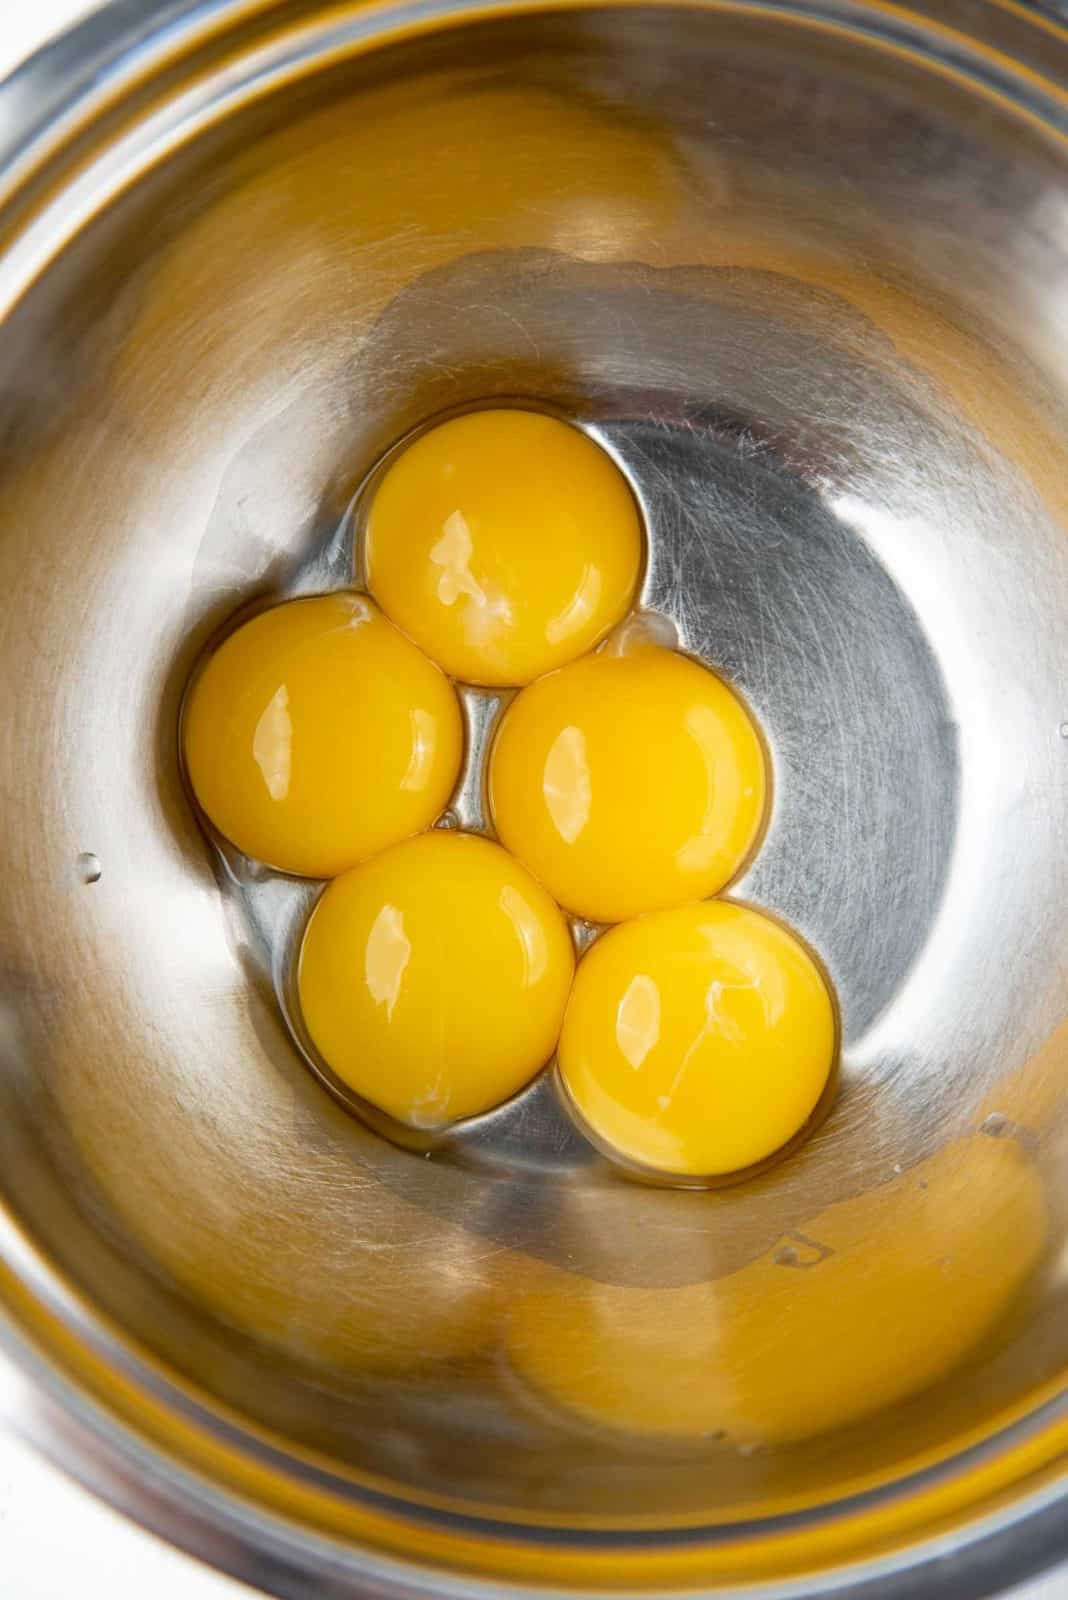
Five egg yolks in a metal bowl.
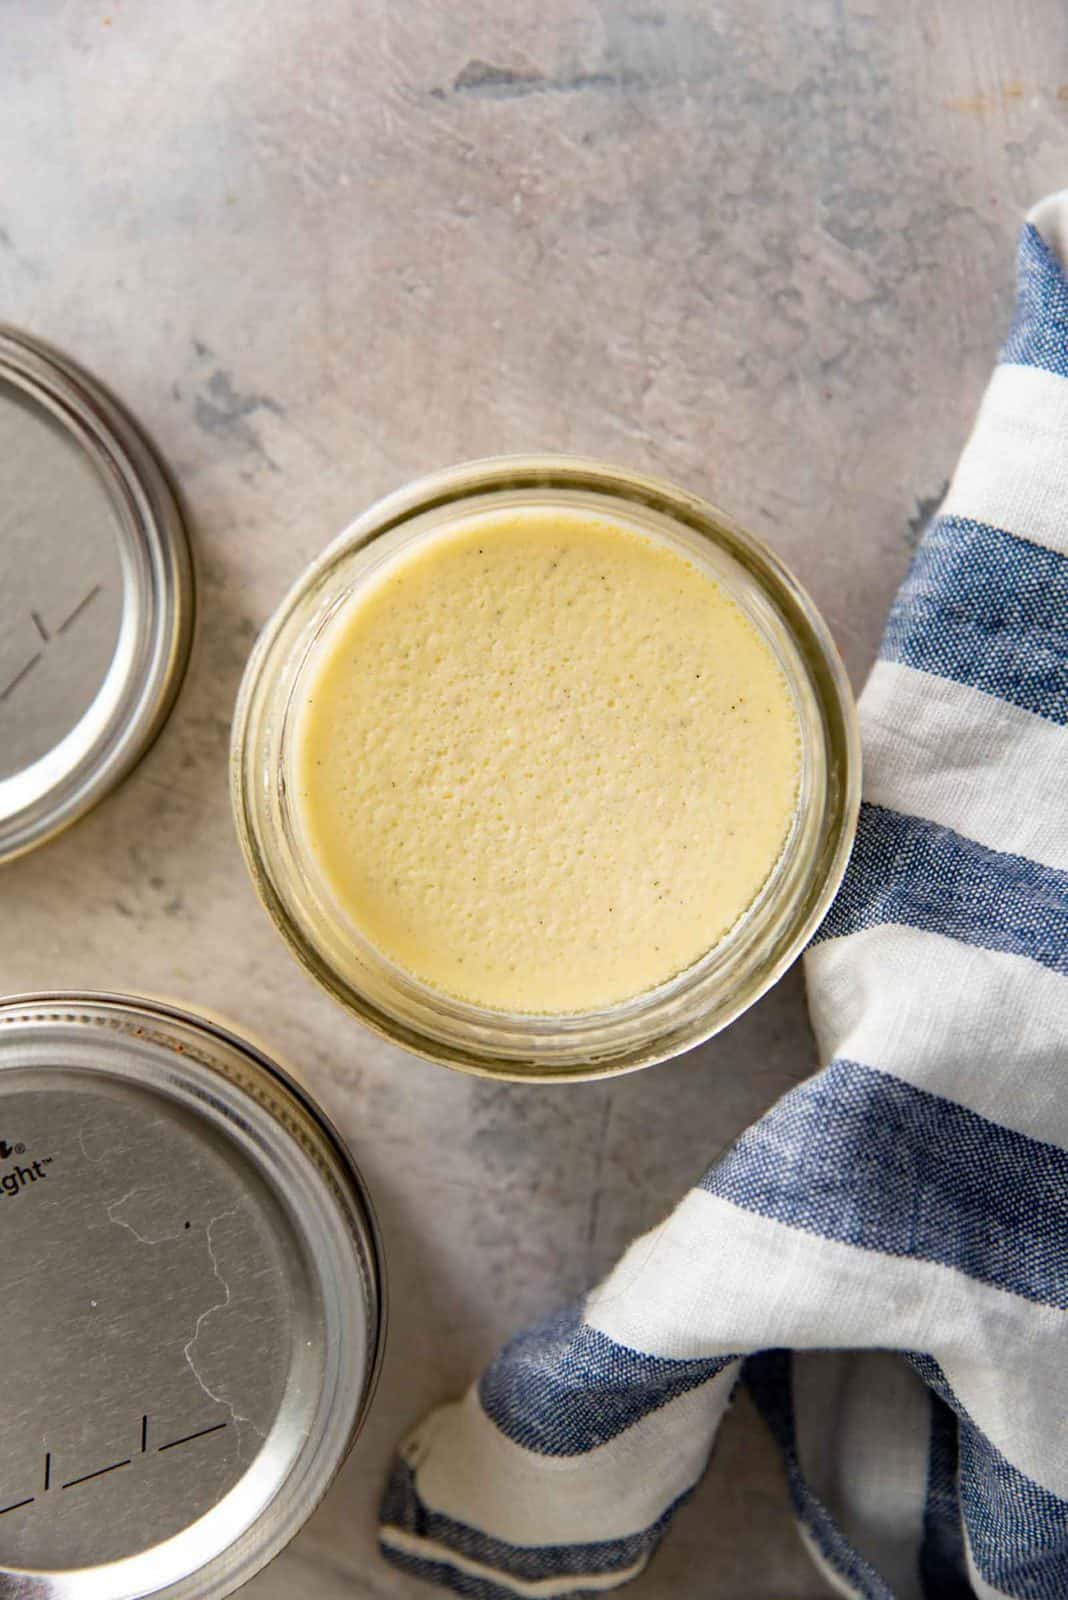
Divide the custard between SIX 8 fl oz (or half pint) jars. There maybe bubbles on the surface of the custards, and you want to get rid of the larger bubbles.
You can do this by using a blow torch to flame the surface. The larger bubbles will burst and make the surface smoother.
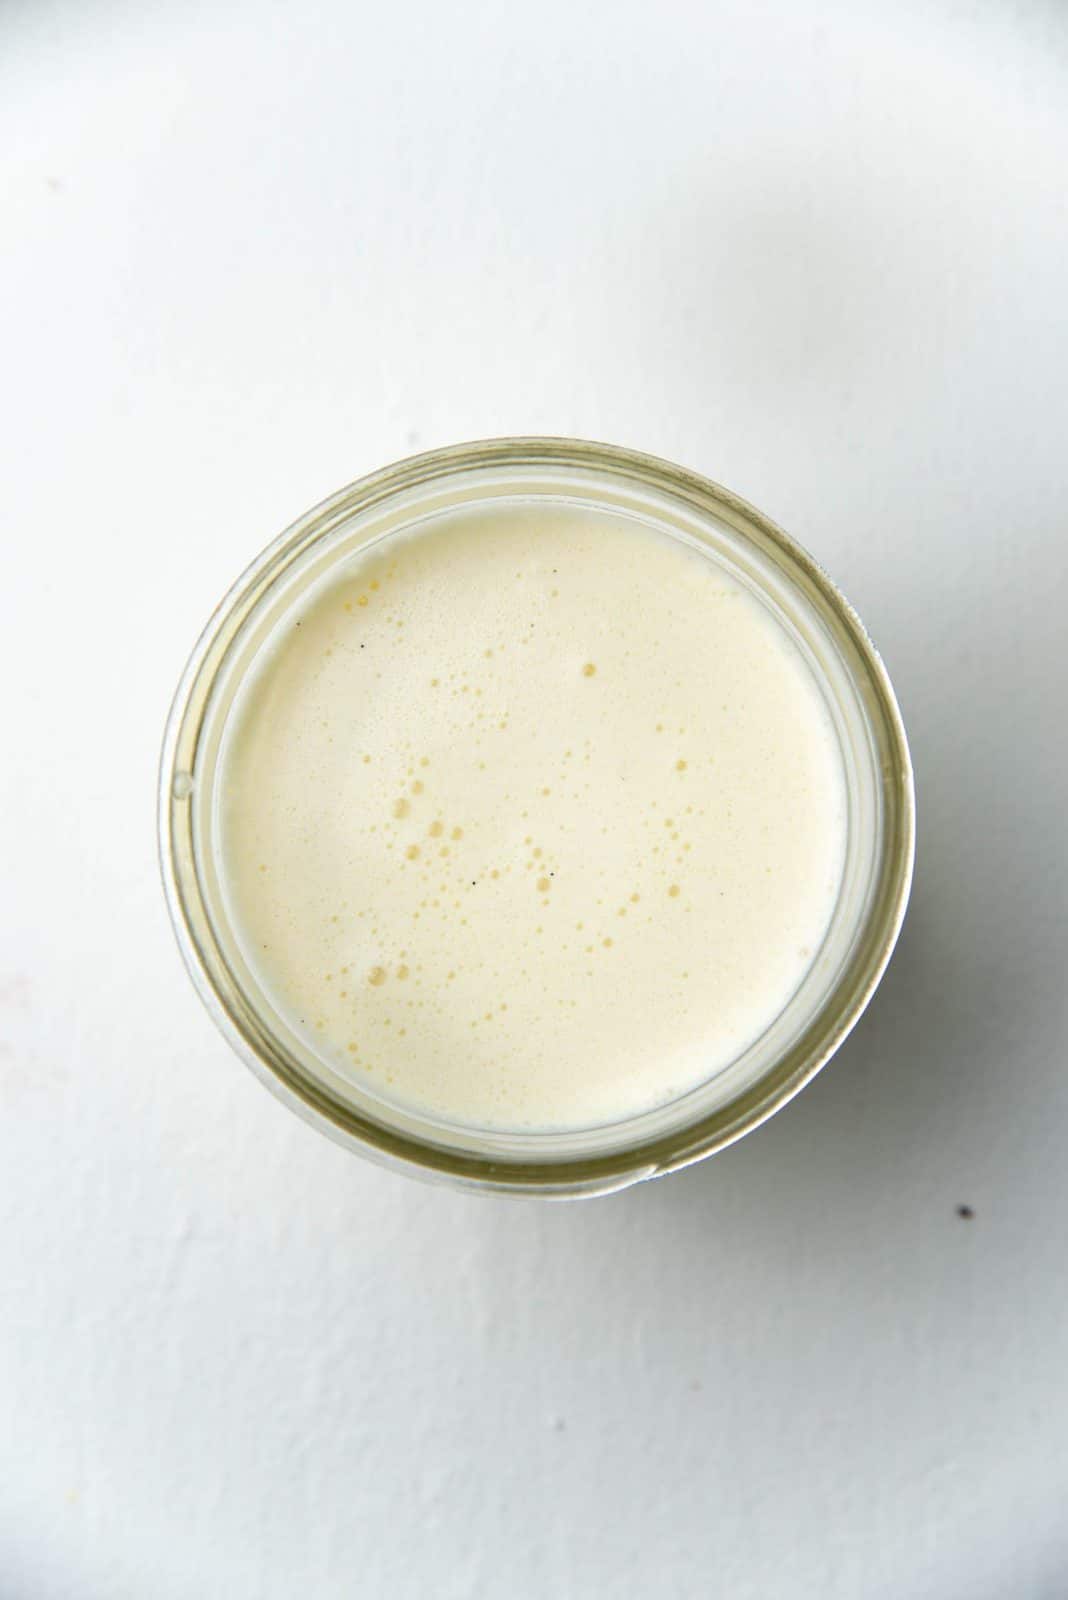
Overhead view of the custard poured into a glass jar with bubbles on the surface.
Close the jars using the method explained above and prepare the sous vide circulator.
Cooking in a sous vide
Fit the container with a sous vide circuator and fill the container with hot water (from the tap). Once the container is filled to the right level, turn on the sous vide circulator and set the temperature to 179°F / 82°C.
Gently lower the jars into the sous vide container while the water is heating up. It is completely OK to stack the jars on top of each other as long as they are fully submerged in the water bath.
When the water in the sous vide container has reached the set temperature, start the timer for 1 hour. Some circulators will beep when it reaches the set temperature, or send a notification to your phone, or some will automatically start the timer when the set temp. is reached.
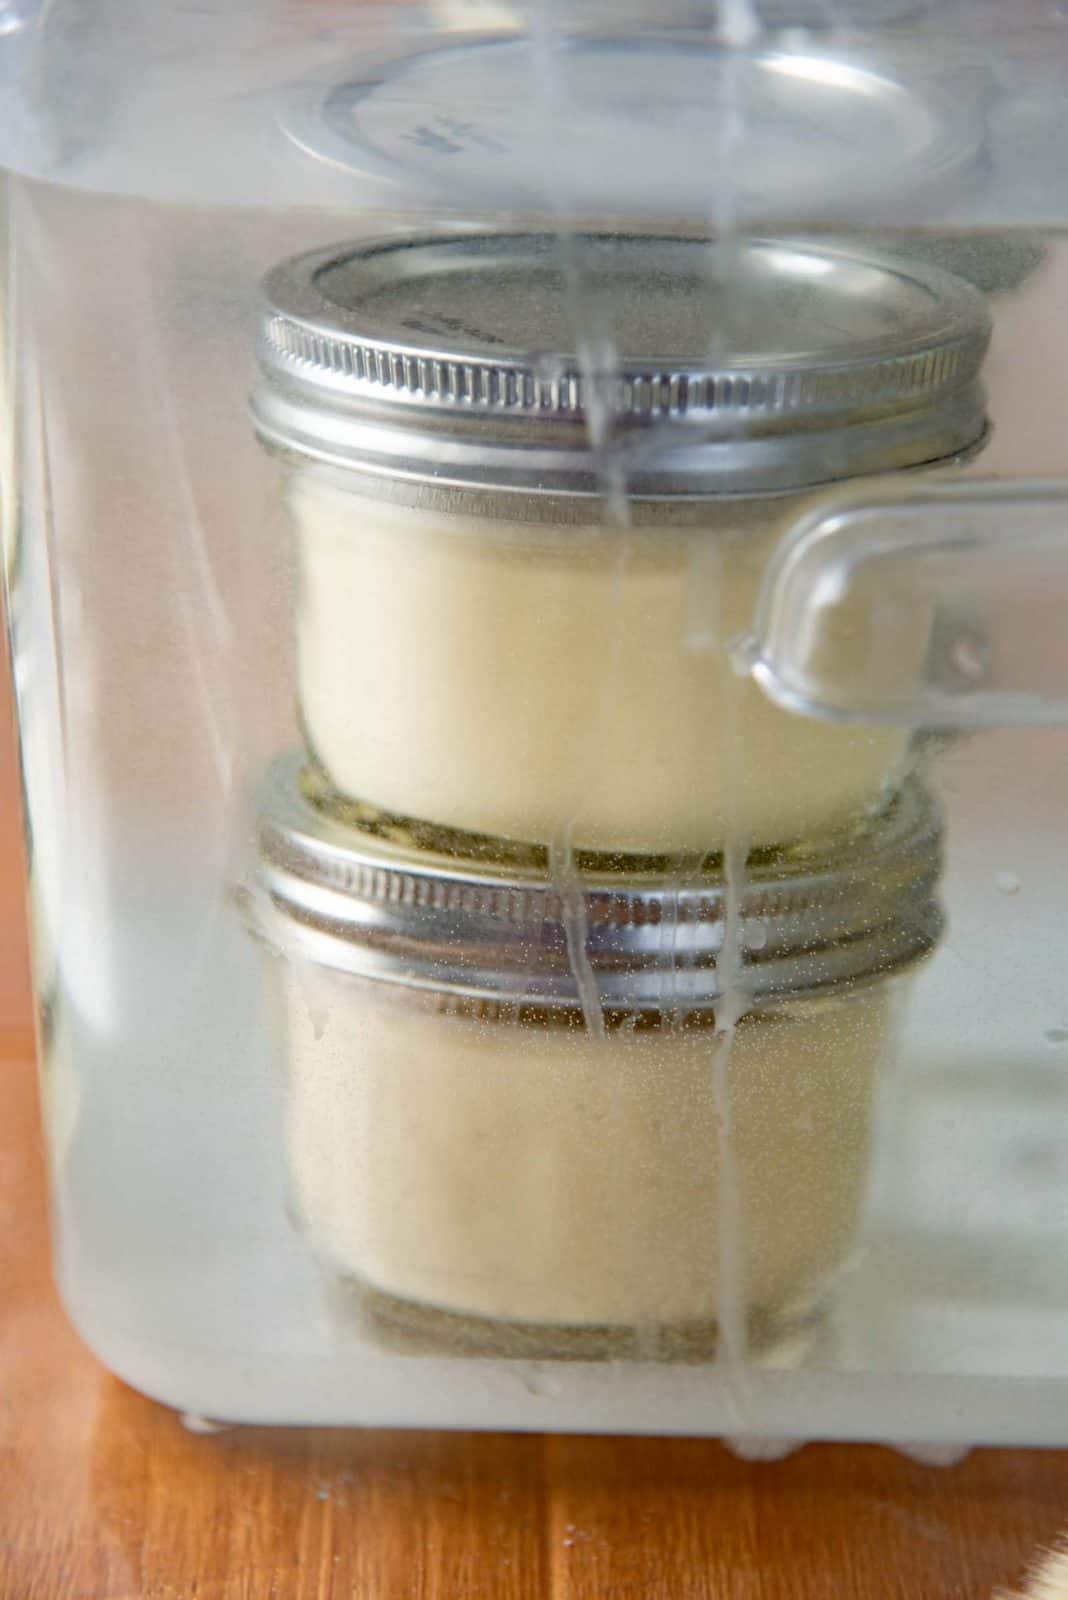
Two small jars filled with creme brulee custard cooking inside the sous vide circulator container.
After 60 minutes of cook time (at the set temperature), remove the jars from the water, and tighten the lids using a cloth napkin.
As they cool down, the jars will seal. When they have cooled to room temperature, transfer the jars to the fridge to chill overnight (or up to 2 weeks).
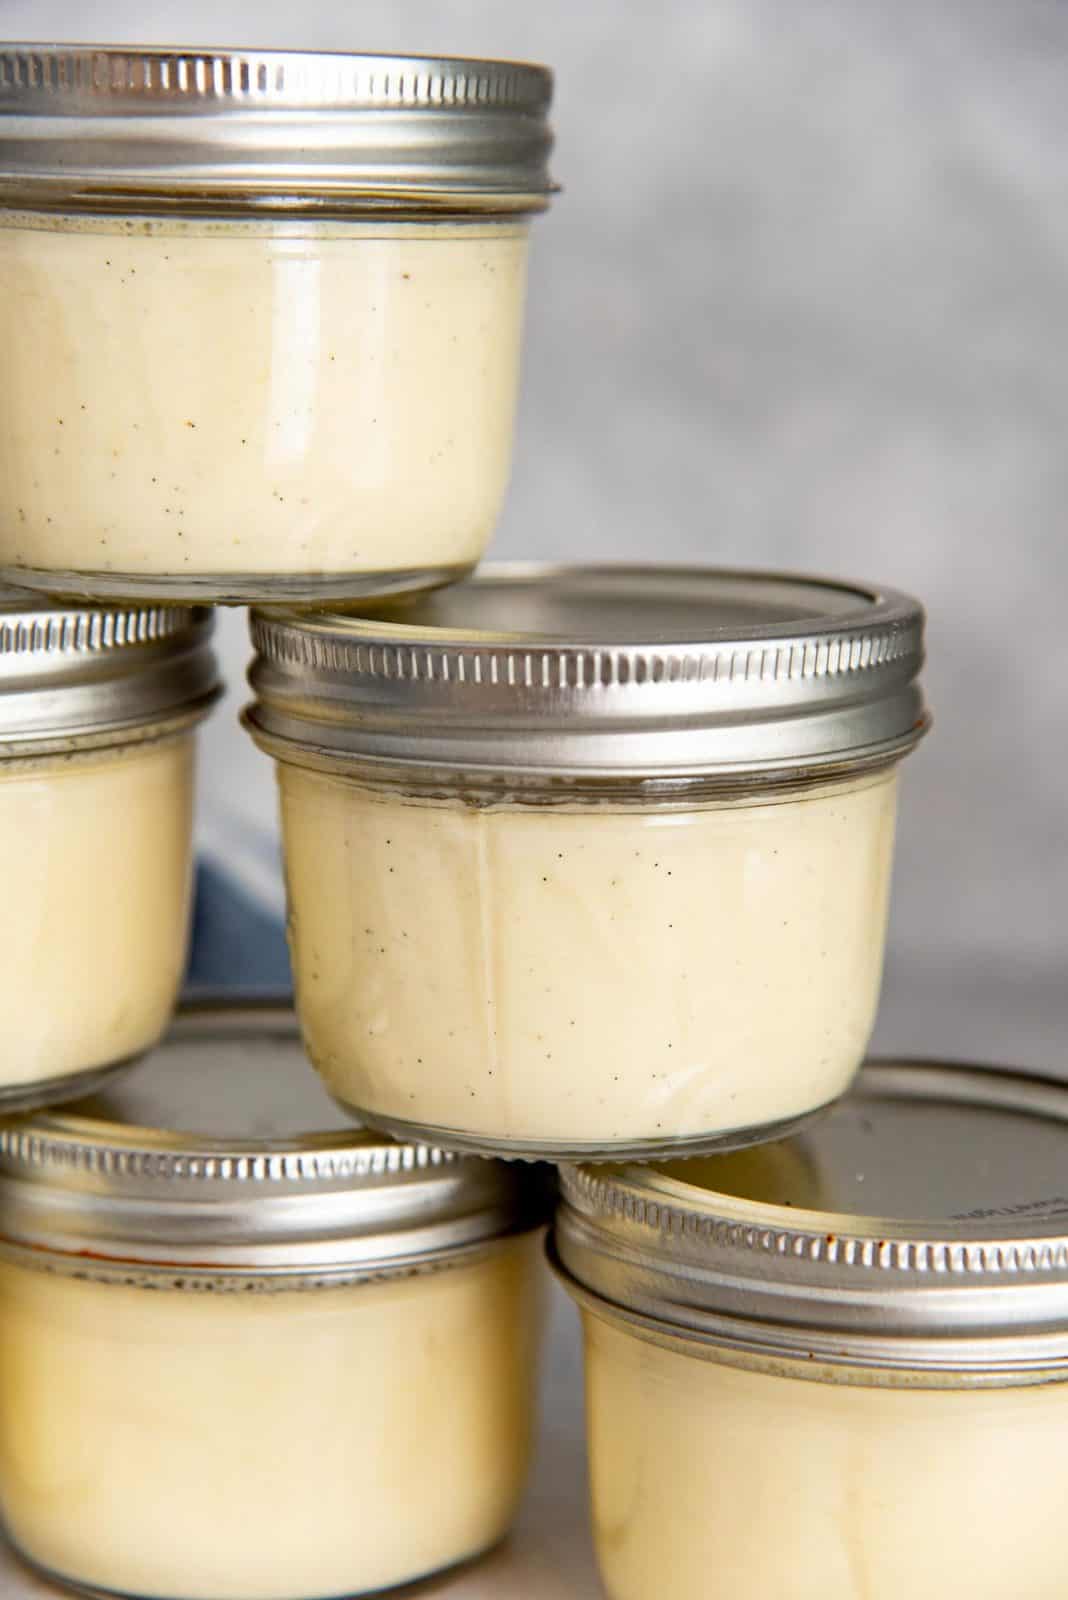
Five small glass jars filled with creamy yellow creme brulee custard, topped with silver lids.
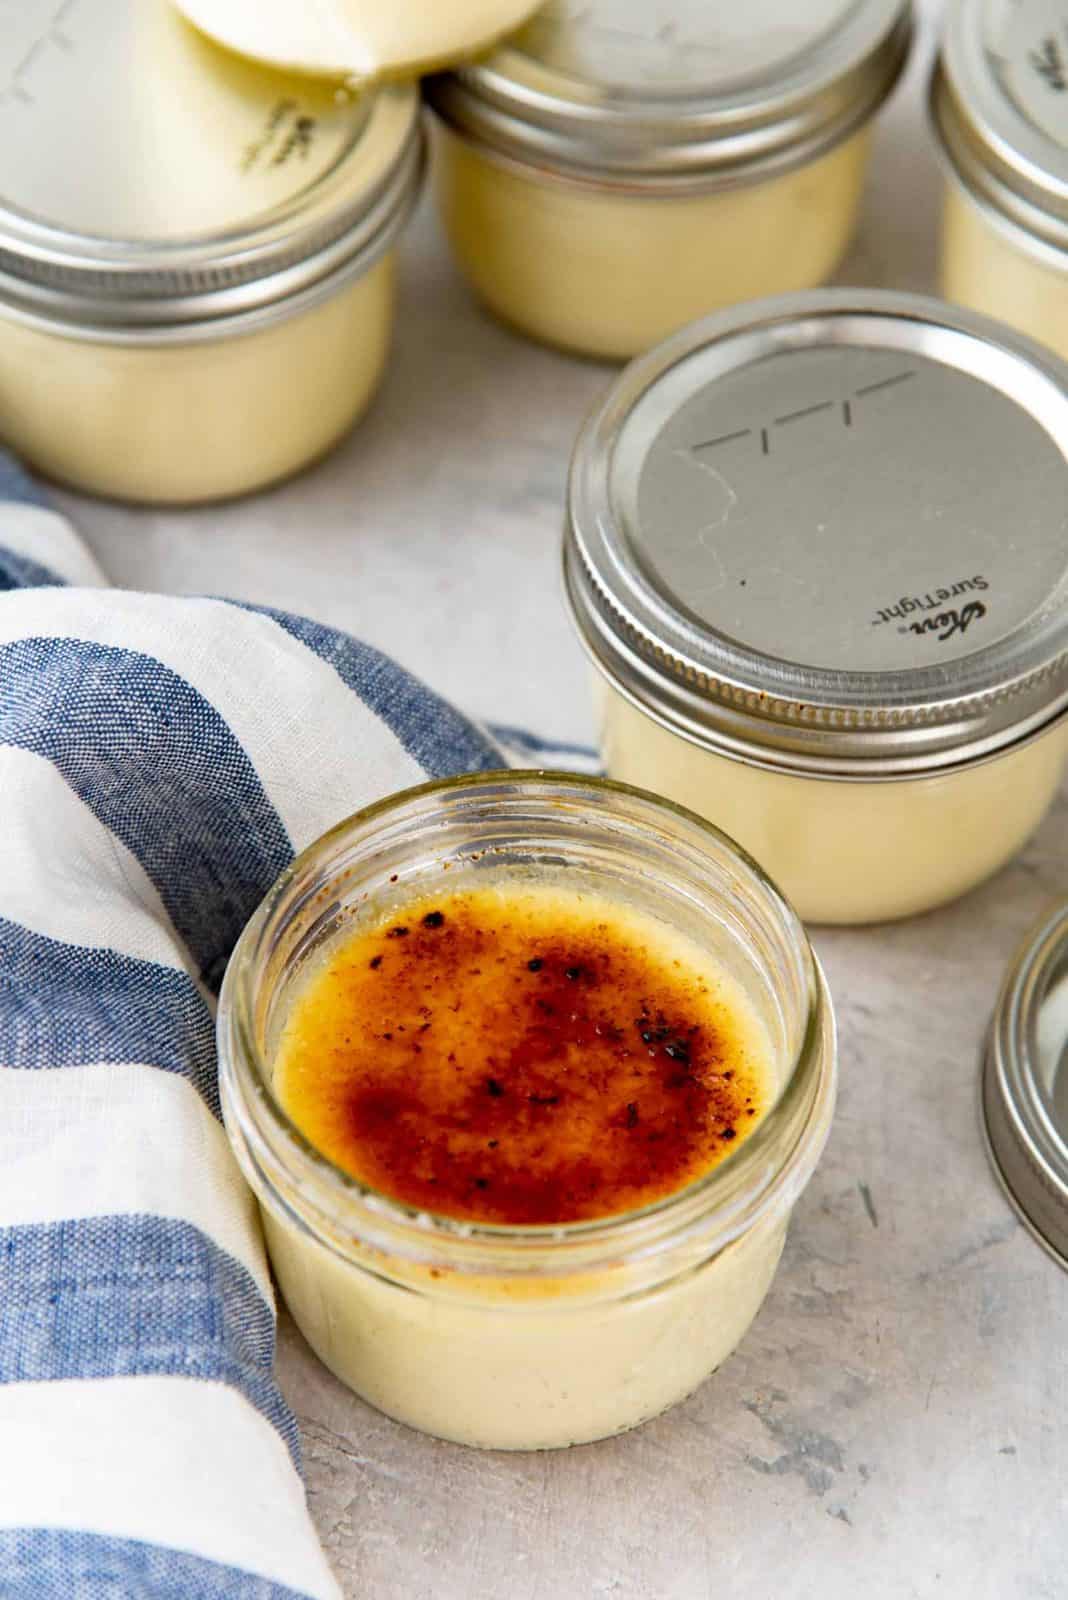
Once the sous vide creme brulee is completely chilled, they are ready to be served.
You will most likely need to gently pry the lids off the jars (with a spoon) to break the seal.
Top view of an open jar filled with creamy, cooked creme brulee custard.
Making sous vide creme brulee WITHOUT jars
The process is still easy, but you won’t have the same shelf life as you would with jars.
Make the custard base as per usual. Portion the base into 6 sandwich (ziploc) bags.
While keeping the bag unzipped, gently lower it into the water. DO NOT submerge it yet. As you lower the bag into the water, the air gets pushed out of the bag through the unzipped opening. When the bag is almost all the way submerged (only the zipper part is above the water), go ahead and zip it to seal it. This way you’ll end up with a bag that’s sealed, with almost all of the air pushed out.
Submerge these bags in the sous vide container and cook at the set temperature for 1 hour.
As soon as the 1 hour is up, snip one corner of the bag and push out the hot custard into ramekins or serving dishes. Cover and let it come to room temperature, and then chill in the fridge overnight.
Caramelizing the sugar on top
Blow torch method
Using a blow torch is the classic way to caramelize the sugar on top of the sous vide caramel brulee.
First sprinkle an even layer of sugar over the custard. Make sure it’s not too thick, but there are no gaps without sugar either.
Use the blow torch to caramelize the sugar to create an amber colored surface with dark caramelized spots.
Let it sit for 1 – 2 minutes until the caramel cools down and hardens. Serve immediately.
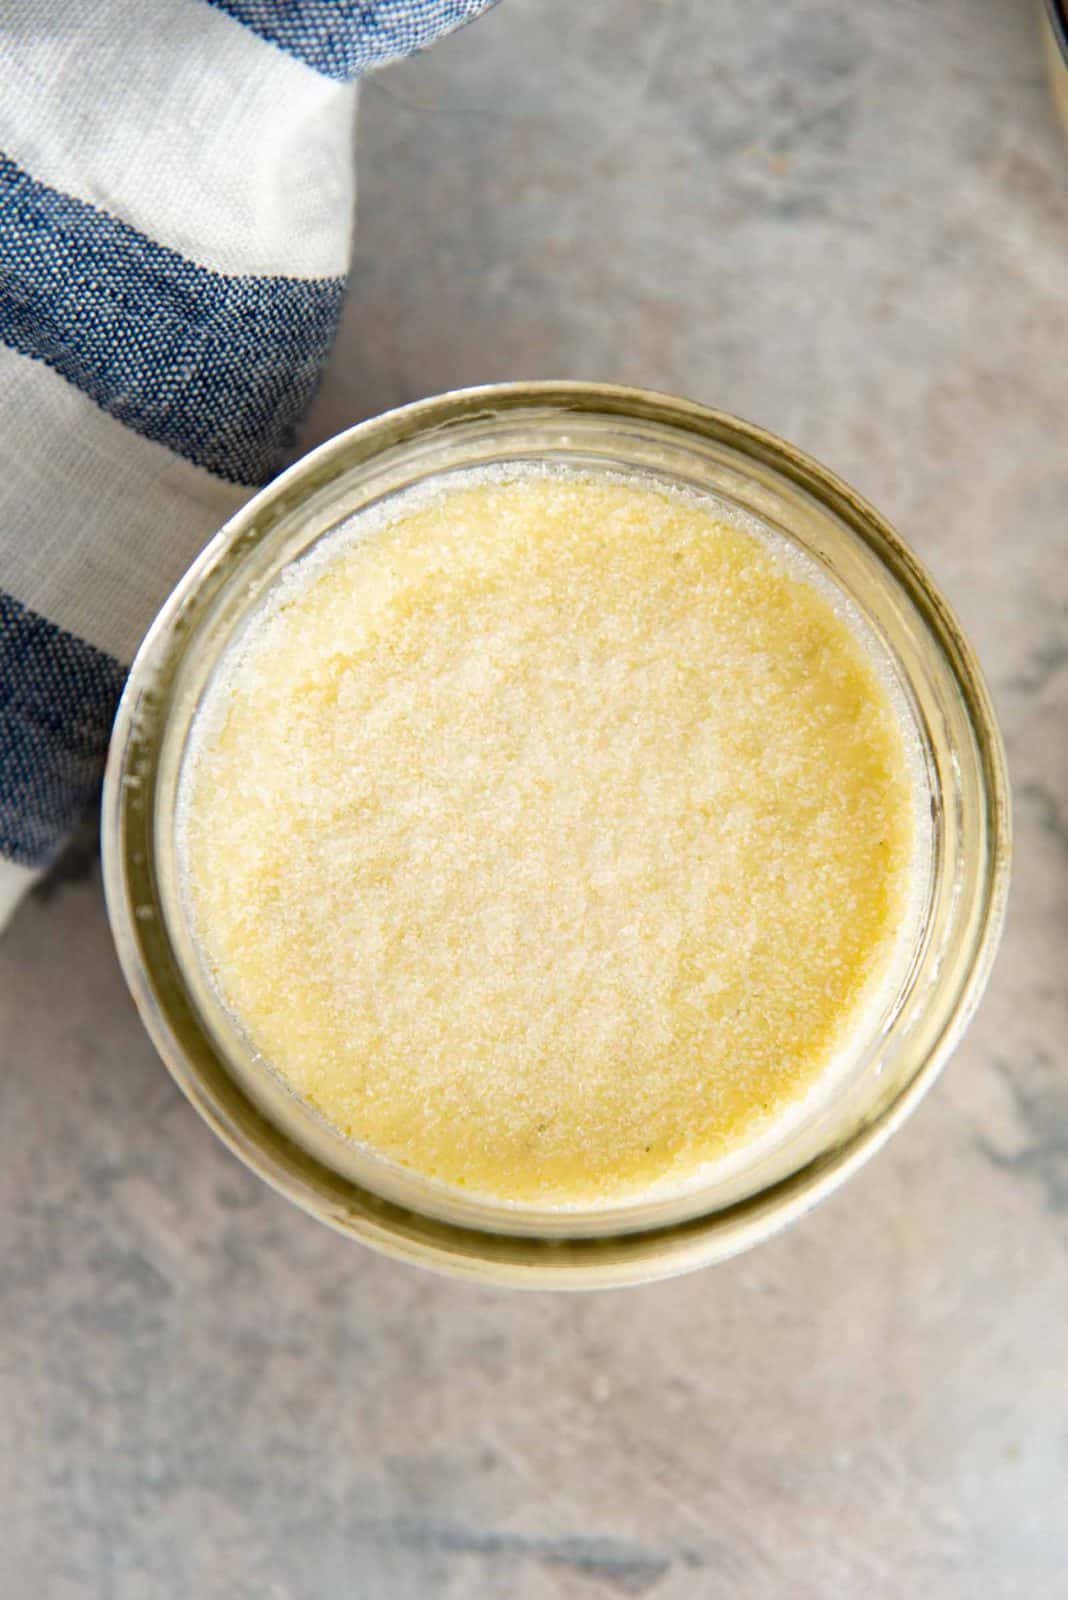
An overhead view of the sous vide creme brulee with sugar sprinkled on top.
Using stove top caramel
Place about 1 – 3 tsp of sugar (per custard portion) in a non-stick pan. Shake the pan to spread the sugar as evenly as possible and heat over medium to medium high heat.
Make sure to tilt and shake the pan as the sugar melts and caramelizes so that it caramelizes evenly.
When the caramel starts to get darker, reduce the heat and cook until it turns amber in color. Turn off the heat.
IMMEDIATELY, pour a little caramel on the surface of the creme brulee, and gently swirl the jar to cover the custard surface.
Place the pan on the warm (but switched off) stove to keep the caramel fluid. This process needs to be done quickly so that the caramel will flow easily. It will be less fluid as it cools down.
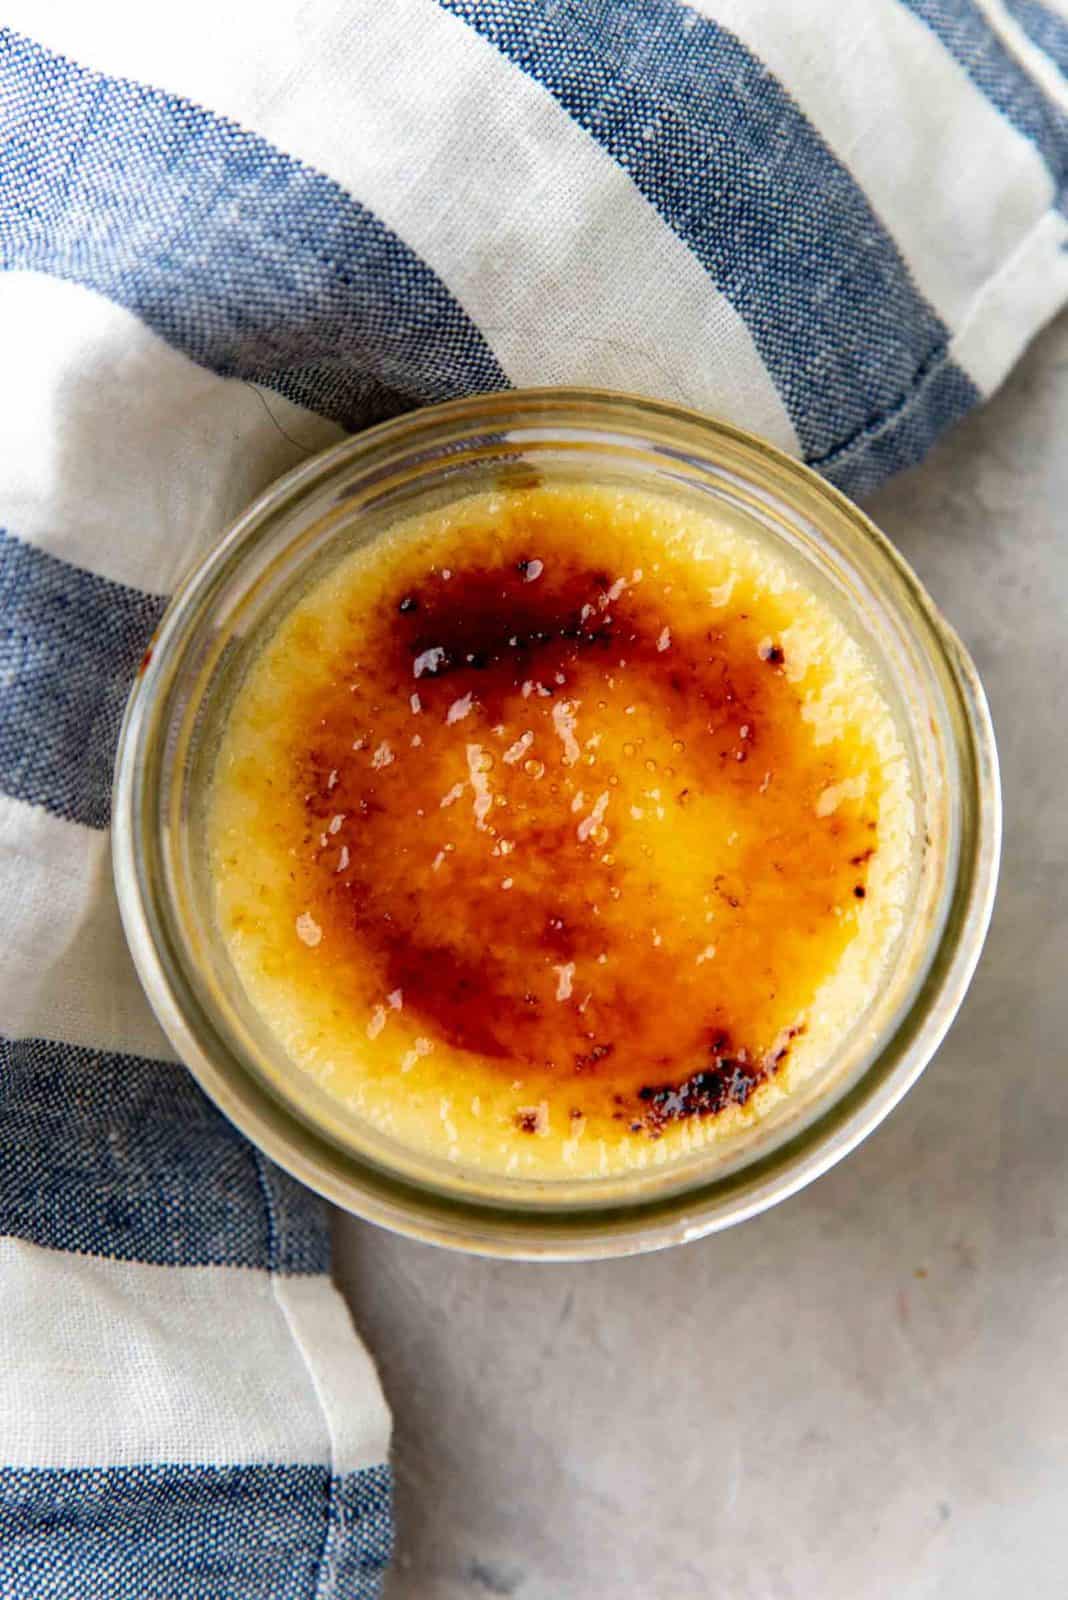
Small glass dish of crème brûlée with a caramelized sugar top, placed on a gray surface next to a blue and white striped cloth.
How to enjoy creme brulee
The beauty of this simple yet elegant and luscious dessert is that it doesn’t need anything extra. Perfectly creamy results are guaranteed every time, with this sous vide technique.
And this is an individually served dessert, much like bavarian cream (crème bavarois) or panna cotta or vanilla pudding.
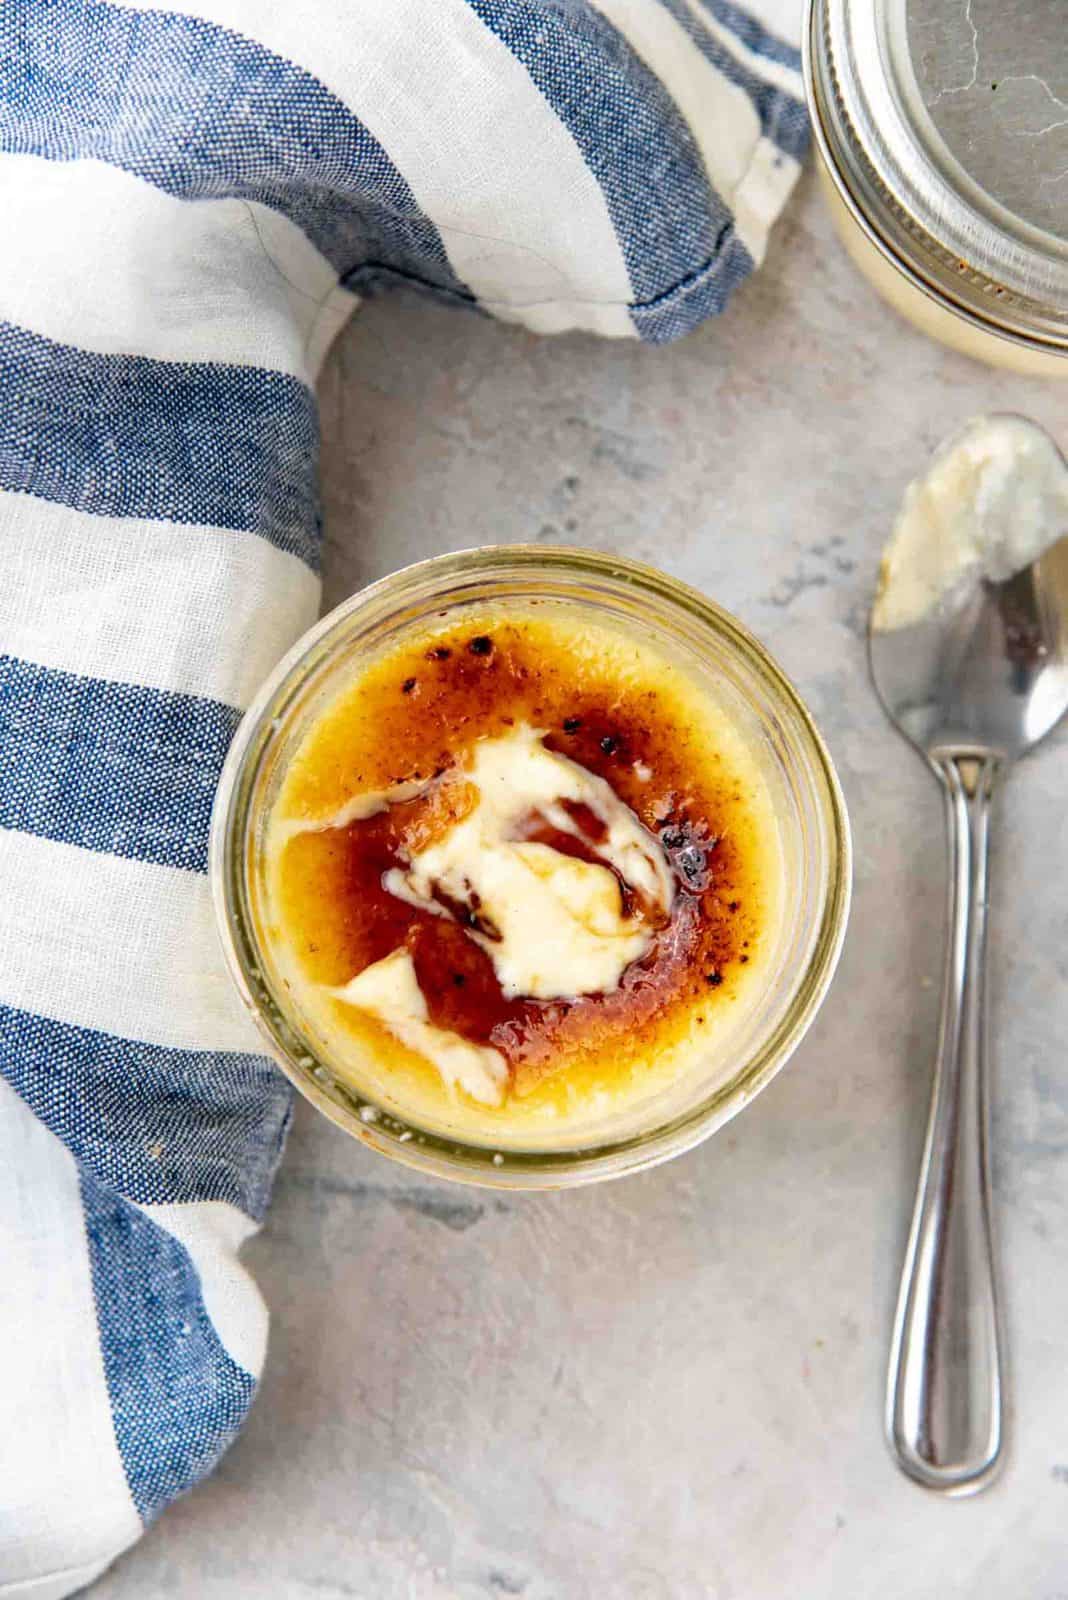
Cracking into this sous vide creme brulee is just as satisfying as eating the classic creme brulee. Maybe even more so because you know the texture will ALWAYS come out perfect!
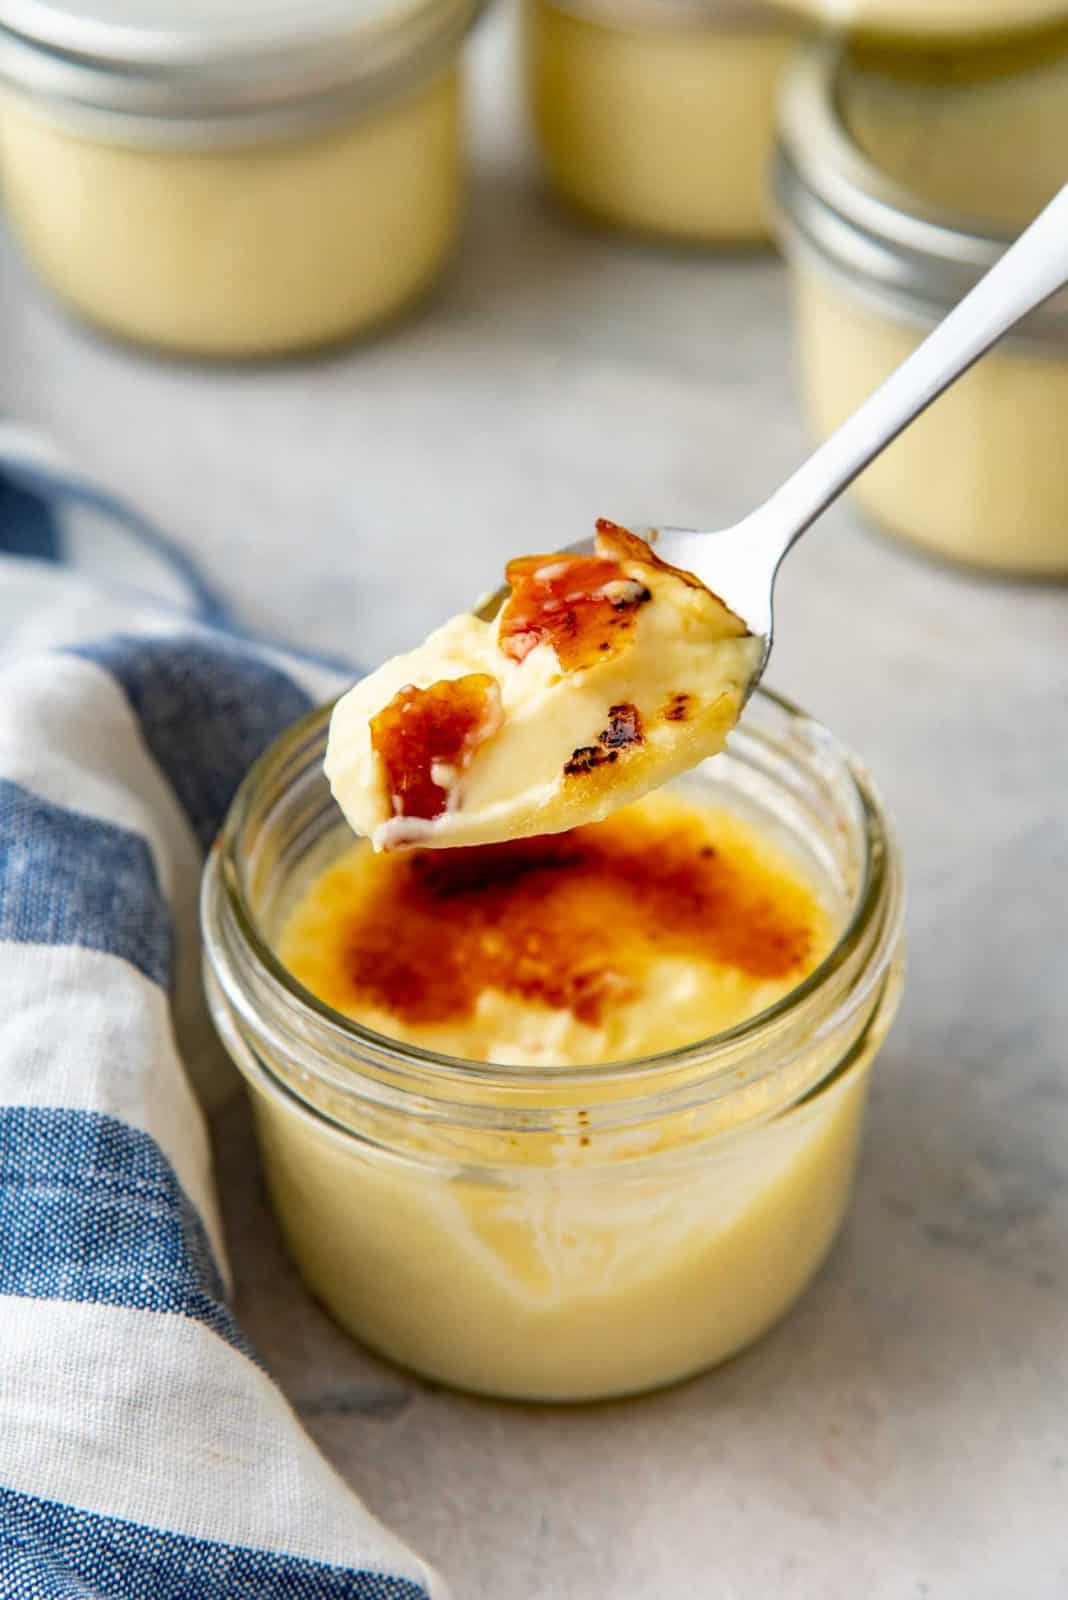
A spoon lifts a creamy crème brûlée with caramelized top from a glass jar, with a striped cloth in the background.
Recipe
5 from 18 votes
Sous Vide Creme Brulee
Author:
Yield: 6 half pint jars (not filled completely)
Cuisine: French
Difficulty:
This sous vide creme brulee is a foolproof recipe that will guarantee perfectly creamy custard, every time! Plus it's a great recipe to make ahead!
EASY – Easy recipe to follow. However, please note that this recipe requires special equipment that may not be found in a regular kitchen (sous vide circulator, container, canning/mason jars).
US based cup, teaspoon, tablespoon measurements. Weight measurements are recommended for accurate results whenever available.
Common Measurement Conversions
Prep: 15
Cook: 1
Chill time: 4
Total Time: 1 15
Makes: servings
Ingredients:
- 15 mL vanilla extract or 1 vanilla bean or 1 tbsp vanilla bean paste
- 5 egg yolks
- 100 g sugar
- Pinch of salt
- 30 mL bourbon optional
- 480 mL of whipping cream 35% fat content
- Extra sugar to caramelize
Instructions:
- Place the egg yolks in a large bowl or jug. Add the sugar, vanilla extract, pinch of salt and bourbon (if using) and whisk together to form a pale paste.
15 mL vanilla extract, 5 egg yolks, 100 g sugar, Pinch of salt, 30 mL bourbon - Add the cream and whisk to combine. Stir until the sugar has dissolved competely.
480 mL of whipping cream - OPTIONAL – Place the custard mixture in a saucepan, and heat over medium heat while whisking constantly, until the mixture is warm and starts to steam. The sugar should completely dissolve as well. (SEE RECIPE NOTES).
- The custard mixture may have some bubbles on the surface. Cover and let it rest to allow the bubbles to subside. You can also stir gently to remove some of the bubbles too.
- Divide the custard into 6 half pint jars / 8 oz jars and close them with the lids. Then loosen the lids slightly to make sure the jars aren't closed too tightly and there is no excess pressure build up (please read the post, where I explain how to do this). It will not fill the jars.
- Fill your sous vide container with hot water from the tap. Attach your sous vide circulator and set the temperature to 179°F – 181 °F / 82°C – 83°C. Start the sous vide.
- Gently lower the jars into the water. This allow the jars to come up to the set temperature, along with the water. Plus there is not thermal shock for the glass jars as well. There will be just a few air bubbles that escape from the jar.
- When the circulator reaches the set temperature, start timing the cook time for 1 hour.
- After 1 hour, remove the jars from the water container, and tighten the lids using a cloth napkin (so you can grip the jar and lid that will be very hot at this stage).
- Let the custards cool completely to room temperature.
- Transfer the jars into the fridge and let them chill over night.
- You may have to gently pry the lids off the jars with a spoon to break the seal, when you're ready to serve them.
Serving
- Before serving, caramelize the sugar on the surface of the creme brulee. There are two ways to do this (explained below).
Blow torch method
- Sprinkle a little sugar evenly over the surface of the custard. Make sure the sugar layer is not too thick so it can caramelize quickly, but also completely covers the surface to prevent the custard from burning underneath.
Extra sugar to caramelize - Use a blow torch to caramelize the sugar on the surface. The sugar should first melt, and start to bubble and turn from a light golden to an amber color. Make sure to caramelize all the sugar without staying in one place for too long. Too much heat will make the custard curdle.
- Let the caramelized sugar cool down (just a minute or two), and the sugar should be hard to the touch. Serve immediately.
Stove top caramel method
- In a non-stick pan, add about 1 tbsp of white sugar per portion of creme brulee you will be serving. For smaller amounts of sugar, use a smaller pot.
- Shake the pan to evenly distribute the sugar in one layer on the bottom of the pan.
- Heat the pan on medium heat and shake it occasionally to caramelize the sugar evenly. The sugar will first melt, and then start turning yellow and rapidly caramelize to an amber color. As the sugar starts to darken to a golden color, turn off the heat. The caramel will continue to cook and turn dark golden/amber in color.
- For this part you may need an extra person to help. As soon as the caramel turns dark golden in color, remove the pan from the heat and GENTLY pour some of the caramel over the custard (about 2 – 3 tsp). The other person will immediately swirl the caramel on the custard so that it will thinly coat the entire surface.
- If needed, return the pan to the stove that’s still warm (but switched off) to keep the caramel liquid. You will need to eye ball the amount of caramel here, since you don’t want to use measuring spoons to measure it out.
- Repeat with the rest of the dishes. You may need to adjust the amount of sugar to add depending on how you go with the first one. This part needs to be done quickly, while the caramel is still fluid. The caramel hardens up quickly.
- When all the creme brulee dishes have been coated with caramel, and the caramel is hard to the touch, serve immediately.
Recipe Notes
Note on heating the custard base
This optional step is only if you prefer to submerge your custard into an already hot sous vide circulator. Heating the custard will prevent the jars from cracking when submerged in hot water. Make sure that the jar has warmed up sufficiently after filling it with the custard before submerging in very hot water in the sous vide circulator (approximately above 160°F).
However, if you are placing the jars in the circulator while the water is not too hot (only hot tap water), then this step isn’t necessary.
Note on the jars used and yield
This recipe does not make enough to completely fill 6 half pint jars. The recipe asks to divide the custard equally between the 6 jars, and it will yield about 5 – 6 fl oz per serving. I’ve used 8 oz jars in this recipe.
I recommend using jars that will have some space between the custard and the lid when filled, which will aid with creating a vacuum. Which is why the jars are not filled all the way to the top here.
Nutrition Information:
Serving: 1jar Calories: 404kcal (20%) Carbohydrates: 20g (7%) Protein: 4g (8%) Fat: 33g (51%) Saturated Fat: 20g (125%) Cholesterol: 271mg (90%) Sodium: 38mg (2%) Potassium: 76mg (2%) Sugar: 17g (19%) Vitamin A: 1383IU (28%) Vitamin C: 1mg (1%) Calcium: 71mg (7%) Iron: 1mg (6%)
“This website provides approximate nutrition information for convenience and as a courtesy only. Nutrition data is gathered primarily from the USDA Food Composition Database, whenever available, or otherwise other online calculators.”